By Doc Ballje
Last week, we covered a bit about PaperCut 19.1, and why sysadmins love Print Deploy. This week, we’re going to take a deeper dive into a new feature. Print Deploy is designed to make getting PaperCut out to users as easy as 1-2-3. Really!
Let’s take a look at what you need to know.
1. How to clone
Set up a reference computer or computers that can be used to push a driver up to PaperCut. Perhaps you want to set up a VM that you can shut down and turn on whenever you want to update a driver.
If your reference computer has a problem and stops working, that’s okay because you can use any computer any time to add or update any driver housed inside of PaperCut.
Here’s what’s really cool, you can do this with a Mac as well. A considerable benefit of PaperCut, you may know, is that it’s OS neutral, and while we don’t have Linux and Chromebooks rolled out yet, we do have Windows and Mac.
Have you struggled with Mac driver implementations? Take a Mac, create the drivers, and you’re done.
Now the biggest tip for creating drivers on a reference computer is similar to the best practice of installing PaperCut. The best way to install PaperCut is to get your devices in and on the network and printing as normal BEFORE you install PaperCut. It’s the same here.
When you install the driver, don’t leave it at that. Make sure it works! Have you set defaults? Make sure they work. Did you add a finisher? Can you staple? When you know that the driver works, then you’re ready for the next step.
2. How to configure
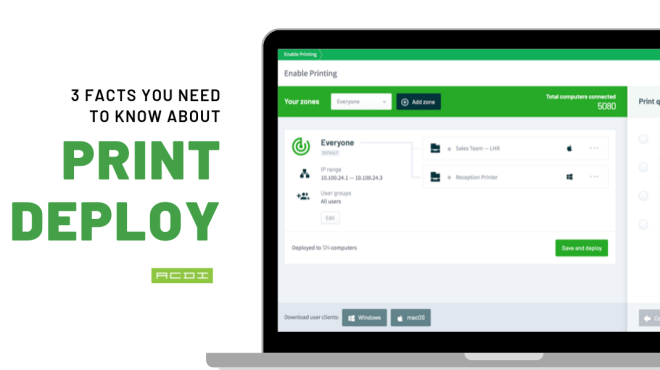
We’ve talked about zones, and some folks can have a hard time with this concept. A zone is a logical grouping of things, as mentioned earlier. It could be a group of computers, a group of printers, individual floors of a building, or areas where people work (i.e., this is the developer’s section & accounting is on the other side of the building).
It is whatever you need to specify which group of people need what printers. Since everything has an IP address (even my car now), then that is how you identify the groupings. In PaperCut, with the Advanced Enablement pack, you can create as many zones as you would like so that the right driver is pushed out to the right person at the right location. Right!
3. How to deploy
Now, all we need to do is get an agent on the end user’s computer – either Windows or Mac. Between these two, it doesn’t matter. Print Deploy works with all supported versions of the operating system. The default time for Print Deploy to check for new print queues is 15 minutes, and it’s configurable to fit your needs. It also uses a scatter technique so that not all computers are deploying at the same time.
When we say 15 minutes, it really can vary anywhere from 10-20 minutes for someone to get a change to their setup. That’s different than when they log in. As soon as a user either enters the zone or logs into their computer, Print Deploy starts working in the background right away. Users see an icon in their taskbar that they can right-click on to refresh printers if need be.
The Advanced Enablement Pack for Print Deploy
PaperCut NG and PaperCut MF come with Standard Print Deploy built-in at no additional cost! How cool is that? What does the Advanced Enablement Pack get you? Pure and simple – zones. Eventually, user group deployment will be available. You’ll be able to specify an Active Directory group as part of the zone, but we’re not there yet. You should see this by the end of the year with the Advanced Enablement pack.
Now, you don’t have to worry about how many zones, users, printers, or print queues you have. The Advanced Enablement Pack opens up the extra capability of Print Deploy.
Remember, the standard Print Deploy comes with the base package of PaperCut – included at no extra charge. If you need a little more, then it’s just a flat fee. The fee is not too bad either. It’s much less than having to purchase another piece of software that you hope talks to PaperCut nicely.
Print Deploy is a great chance to make your life simpler – doubly so if you’ve been keeping up with your M&S.
Intrigued? Click here for more information.


